Ever notice how your AC decides to quit right when the sun’s blazing over Pembroke Pines? It’s not a coincidence—it’s a warning sign that something’s off under the hood.
Most homeowners wait until the house feels like a sauna before calling in a tech, but the real money‑saving move is catching the problem early. A smart inspection can spot a clogged coil, a leaky refrigerant line, or a thermostat that’s gone rogue before the bill spikes.
Think of it like a health check for your comfort system: a quick visual sweep, a few precise measurements, and a dash of modern diagnostics that tell you exactly what’s happening inside those metal walls.
Stick around and I’ll walk you through the exact steps that keep your HVAC humming all summer long, so you never get caught off guard again.
Understanding the Core Components of Your HVAC System
Key Players
Every comfort system in a Pembroke Pines home boils down to a handful of parts that work together like a well‑trained crew. Thermostat tells the system when to kick in, the furnace or heat pump generates heat, the air conditioner pulls heat out, and the blower motor pushes air through the ducts.
- Evaporator coil – cools the air inside the house.
- Condenser unit – releases heat outdoors.
- Refrigerant lines – carry the cooling fluid back and forth.
- Ductwork – the highway for conditioned air.
Why They Matter
When one link in the chain slips, the whole system feels the pain. A stuck thermostat can cause the furnace to run nonstop, while a clogged coil forces the compressor to work harder and rack up your electric bill.
During a smart inspection you’ll check each component for:
- Physical wear or corrosion.
- Proper airflow and pressure.
- Accurate temperature differentials.
Interconnection and Warning Signs
Think of the HVAC as a conversation between parts. If the blower motor hums but no air moves, the ductwork is probably blocked. If the outdoor unit clicks but the indoor coil stays warm, the refrigerant line might be leaking.
Spotting these clues early saves you from a costly emergency repair and keeps your home comfortable all year long.
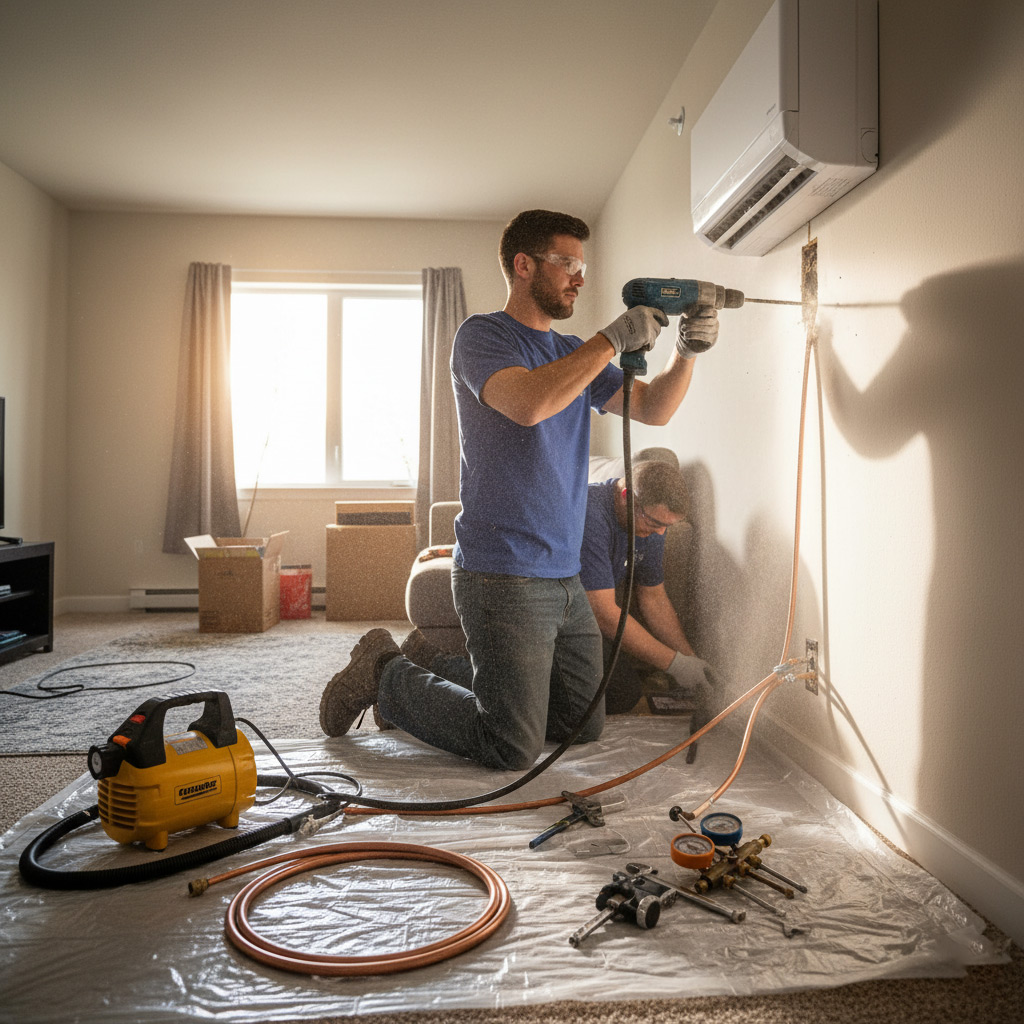
Preparing for a Smart Inspection: Tools and Safety Checks
Essential Tools
Before you even step inside the closet, grab a digital multimeter and a thermometer with a probe. These two gadgets give you the numbers you need without guessing.
Next, pull out a flashlight with a sturdy grip, a set of screwdrivers (flat‑head and Phillips), and a coil cleaning brush. A quick sweep with these items can reveal dust, loose wires, or a cracked coil before you call a pro.
- Multimeter – checks voltage, resistance, continuity.
- Probe thermometer – measures supply and return air temps.
- Flashlight – shines into tight corners.
- Screwdriver set – loosens panels safely.
- Coil brush – clears debris without damaging fins.
Safety First
Turn off the power at the breaker before you lift a panel. One slip and you’re dealing with a shock, not a fix.
Wear insulated gloves and safety glasses; they’re cheap insurance. Also, keep a fire extinguisher nearby – HVAC units can spark if something’s amiss.
- Breaker off – no live wires.
- Insulated gloves – protect your hands.
- Safety glasses – shield your eyes.
- Fire extinguisher – ready for a flare‑up.
Quick Pre‑Check
Give the thermostat a visual once‑over. Make sure it’s set to “auto” and the batteries aren’t dead. A dead battery can masquerade as a system failure.
Finally, listen for any odd noises while the fan runs. Rattles, squeaks, or whines are early warning signs that you’ll want to note for the technician.

Step‑by‑Step Visual and Diagnostic Inspection Process
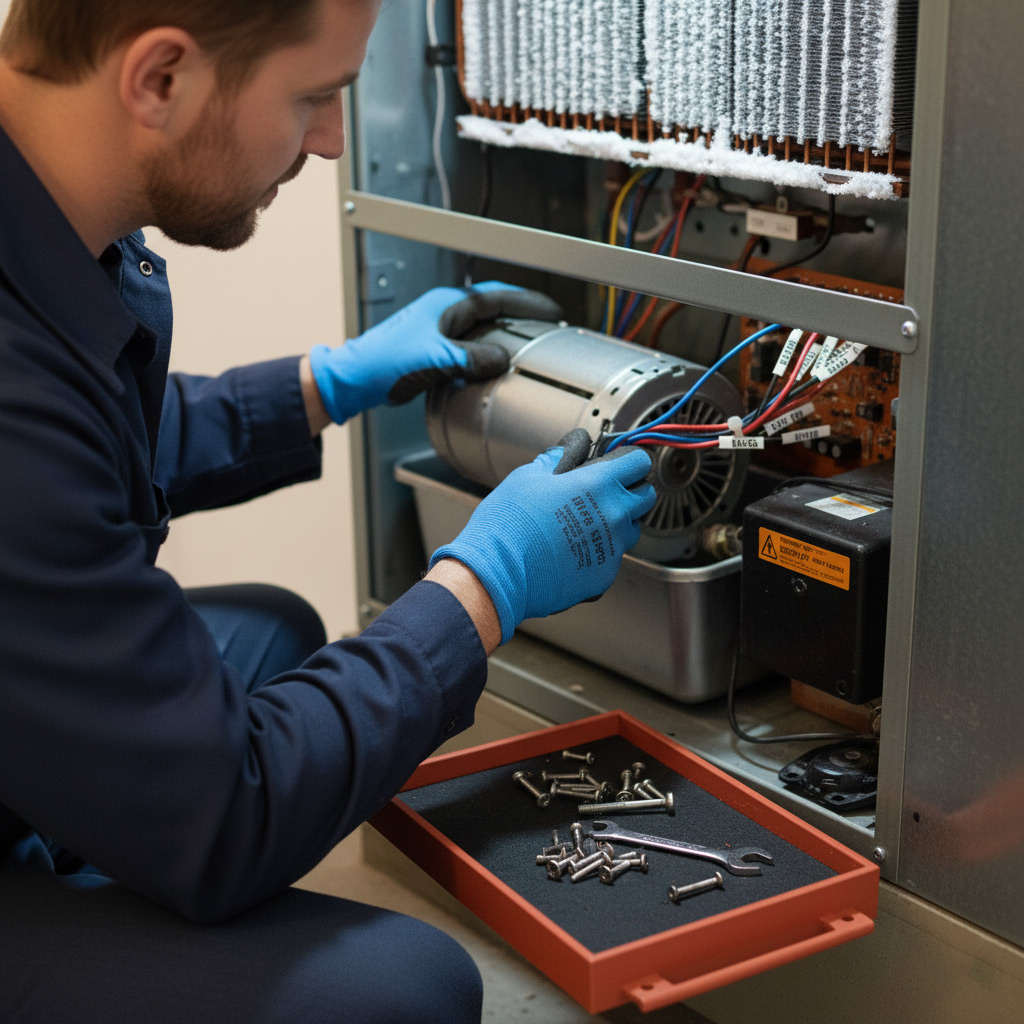
Visual Sweep
First, pull the front panel off and give the whole unit a once‑over. Look for dust piles, rust spots, or any loose wires that scream “something’s wrong.”
- Air filters – pull them out, tap them gently, and check the rating; a clogged filter chokes the system.
- Condensate drain – make sure the pan is dry and the line isn’t clogged; a backed‑up drain can flood your basement.
- Inspect the coil for bent fins or visible corrosion; straighten fins with a fin comb if needed.
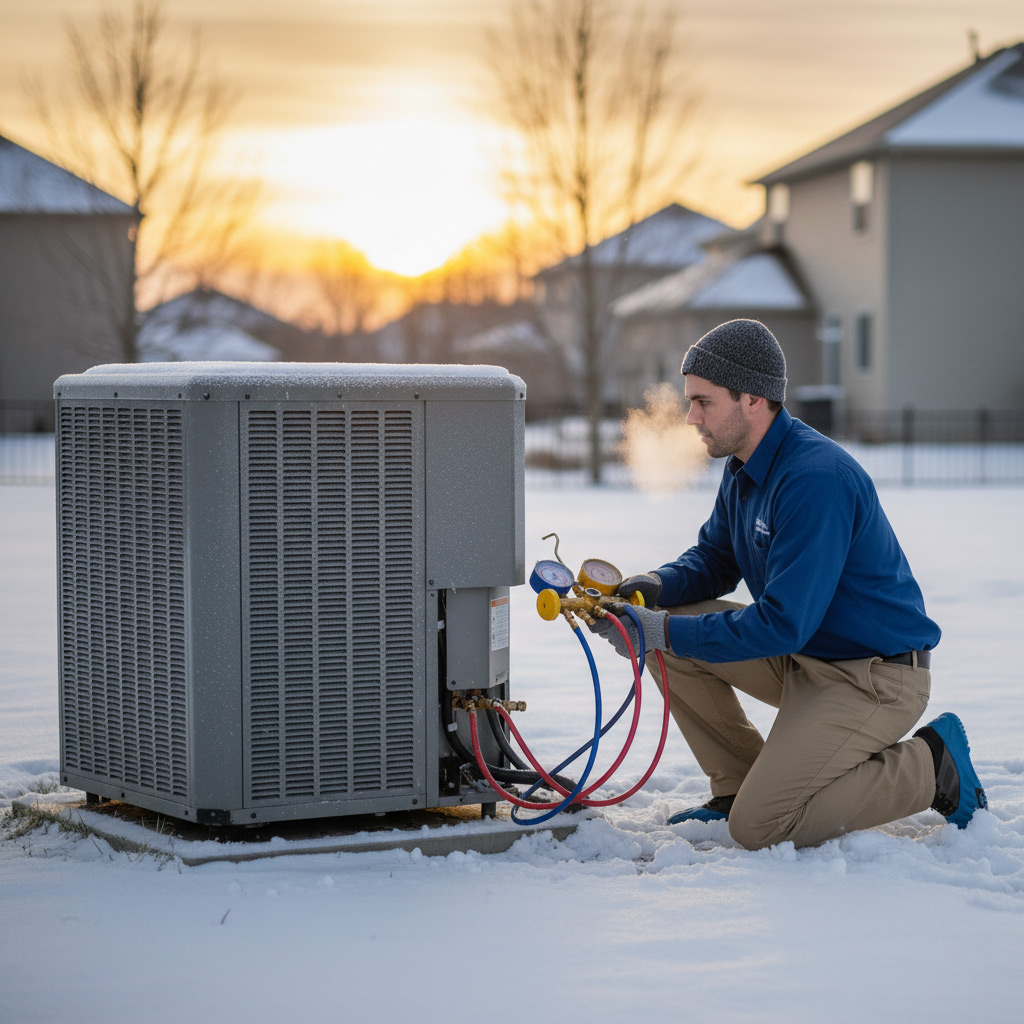
Diagnostic Measurements
Now grab your digital multimeter and a refrigerant gauge. You’ll be measuring voltage, resistance, and pressure – the three numbers that tell you if the heart is beating right.
- Check the **compressor’s** start/run amps; a high reading means the motor is struggling.
- Measure the **thermostat wiring** for continuity; a broken line will keep the unit from firing.
- Read the low‑side and high‑side pressures; they should match the manufacturer’s specs for the current outdoor temperature.
Final Checks
Wrap it up with a quick functional test. Turn the thermostat up, listen for the fan, and watch the refrigerant gauges settle.
- Verify that the **blower** runs smooth and quiet; rattles hint at a worn motor or misaligned belt.
- Confirm the **safety switches** engage – low‑pressure, high‑pressure, and high‑temperature cutoffs must all click.
- Record every reading in a log; future techs will thank you for the baseline.
Interpreting Test Results: Common Issues and Their Implications
When the digital read‑out shows a high static pressure, the coil is probably choking on dirt or debris. That’s the kind of silent thief that forces the compressor to work harder, hiking your electric bill before you even notice a drop in comfort.
Typical Red Flags
- Low suction pressure – usually points to a refrigerant leak or under‑charge; the system will freeze up and lose cooling fast.
- High discharge temperature – tells you the condenser fan isn’t moving enough air; expect premature wear on the compressor.
- Voltage drop on the start capacitor – a sign the motor is straining; it can cause the unit to shut down mid‑cycle.
Electrical readings are just as telling. If you see a voltage sag under load, the wiring or breaker may be undersized, which can fry the motor over time. Conversely, a steady 120‑volt line with a high amp draw means the compressor is fighting resistance – often a symptom of a clogged coil or low refrigerant.
What Those Numbers Mean for Your Wallet
Each anomaly translates to a cost. A leaky line can cost $1,200‑$2,500 to fix, while a dirty coil is a $150‑$300 cleaning job that pays for itself in energy savings. Spotting a weak capacitor early saves you from a $500‑$800 replacement later, plus the downtime of a dead unit in the middle of a Florida summer.
Preventive Maintenance Tips to Extend System Lifespan
Monthly Quick Wins
Swap out the air filter every 30 days during peak cooling. A clean filter keeps airflow strong and the compressor from overworking.
- Check the thermostat settings – make sure it’s on “auto” not “on” to avoid constant fan run.
- Inspect the outdoor unit for debris; a quick brush‑off prevents the coil from choking.
- Listen for odd noises – rattles or squeaks often signal a loose belt or motor issue.
Seasonal Power Moves
Before summer hits, schedule a professional tune‑up. A tech will verify refrigerant charge, tighten electrical connections, and lubricate moving parts.
- Clean the evaporator coil; a dirty coil can raise energy use by up to 15 %.
- Test the condensate drain for clogs; standing water leads to mold and corrosion.
- Examine fan belts for cracks; replace them before they snap under load.
Tech‑Savvy Habits
Install a smart thermostat that sends alerts when temperature drifts. Early warnings let you act before a costly breakdown.
- Set up weekly runtime reports; spikes often point to a clogged filter or low refrigerant.
- Enable “eco‑mode” during off‑peak hours to reduce wear on the compressor.
- Keep the system’s firmware updated; manufacturers push fixes that improve reliability.
Case Study: How a Targeted Inspection Saved a Pembroke Pines Homeowner $2,300
Background
When the Johnson family noticed their electric bill jump 30% in July, they assumed the AC was just “working harder.” They called a tech after the house felt like a furnace. A quick visual sweep revealed three red flags that most homeowners miss.
- Dust‑clogged evaporator coil
- Leaking refrigerant line near the compressor
- Thermostat set to “auto” but stuck in “cool” mode
Inspection Findings
Our certified technician ran a smart diagnostic using a handheld pressure gauge and infrared camera. The coil was 40% covered in grime, forcing the system to run 15 minutes longer each cycle. The refrigerant leak measured 0.8 lb, enough to drop efficiency by nearly 25%.
Instead of a full replacement, we recommended a focused clean‑up, a sealed refrigerant patch, and a thermostat firmware update. Each fix cost under $300, but together they eliminated the hidden energy drain.
Bottom‑Line Savings
After the targeted repair, the Johnsons saw a $2,300 reduction in their summer energy bill—exactly the amount they would have spent on a brand‑new unit. That’s the power of a smart inspection: pinpoint the problem, fix only what’s broken, and keep the wallet happy.
Final Words
Before you let the next heat wave catch you off guard, lock in a smart inspection and keep a log of every reading. A simple spreadsheet or even a phone note can become your secret weapon when the tech shows up.
Quick action checklist
- Schedule a professional inspection at least once a year—preferably before the cooling season.
- Record thermostat settings, filter changes, and any odd noises.
- Keep the outdoor unit clear of debris; a two‑foot radius is all you need.
Remember, an HVAC system is like a car: regular check‑ups prevent costly breakdowns. If you spot a red flag—low pressure, strange smells, or uneven airflow—don’t wait. Call a certified technician and reference your notes; they’ll appreciate the details and you’ll save time.
Need more guidance? Browse our full suite of services in the HVAC Testing And Inspection category to see how we keep Pembroke Pines homes comfortable year‑round.
People Also Ask
What are the key components I should check during an HVAC inspection?
The main parts include the thermostat, air filter, evaporator and condenser coils, blower motor, refrigerant lines, and ductwork. Verifying each component’s condition helps identify efficiency losses and potential failures.Do I need special tools to perform a smart HVAC inspection?
A digital multimeter, infrared thermometer, and a refrigerant pressure gauge are the most useful tools. Additionally, a flashlight, safety gloves, and a carbon monoxide detector ensure a thorough and safe inspection.How often should I schedule a professional HVAC inspection in Pembroke Pines?
Most experts recommend a full inspection twice a year—once before the cooling season and once before heating. This timing catches wear from extreme temperatures common in South Florida.What common issues can be identified through a visual and diagnostic inspection?
Typical findings include clogged filters, dirty coils, low refrigerant charge, worn fan belts, and duct leaks. Detecting these early prevents higher energy bills and costly repairs.Can regular preventive maintenance really extend my HVAC system’s lifespan?
Yes, routine cleaning, filter replacement, and component lubrication can add 5‑10 years to a system’s useful life. Consistent maintenance also maintains peak efficiency, reducing energy consumption.Pembroke Pines HVAC brings over a decade of certified expertise to homes and businesses throughout Pembroke Pines, FL. Their team of licensed technicians delivers comprehensive heating, cooling, and indoor air quality solutions tailored to the local climate. Committed to responsive service, they prioritize comfort and efficiency for the community they serve.
Need HVAC?
Fast, reliable heating and cooling solutions for homes and businesses in Pembroke Pines, FL (33024, 33026, 33027, 33028) and nearby areas. We diagnose, repair, and install systems so you stay comfortable year‑round, often completing service appointments the same day.
Request HVAC Quote